Welcome to Project Trinity Nova, a four-part build series in which we will convert an Ender 3 Max Neo into a 300 mm Enderwire-style machine. We are using JackMiller’s Trinity Nova Max Neo V1 conversion as the foundation for the build. See the Video Series Part 1 here!
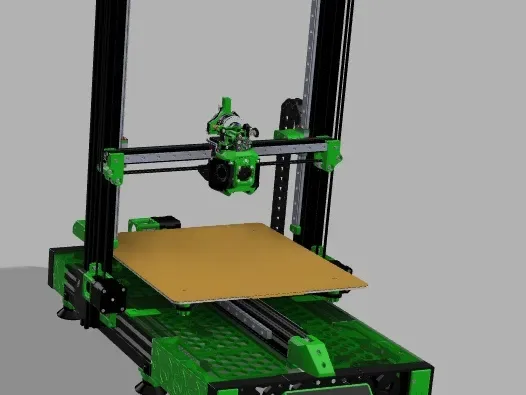
This is going to be much more than a board swap or a new toolhead bolted onto an otherwise stock printer. By the time we are finished, the goal is to have a cleaner, faster, Klipper-powered machine that still takes advantage of the Max Neo’s large 300 mm build area.
The electronics for Project Trinity were supplied by 3D Mellow. In this first part, we are taking a look at the plan for the conversion, the hardware that will control the printer, and why these components should work well together.
The Mellow FLY C5 will replace the stock Ender electronics and become the new brain of Project Trinity.
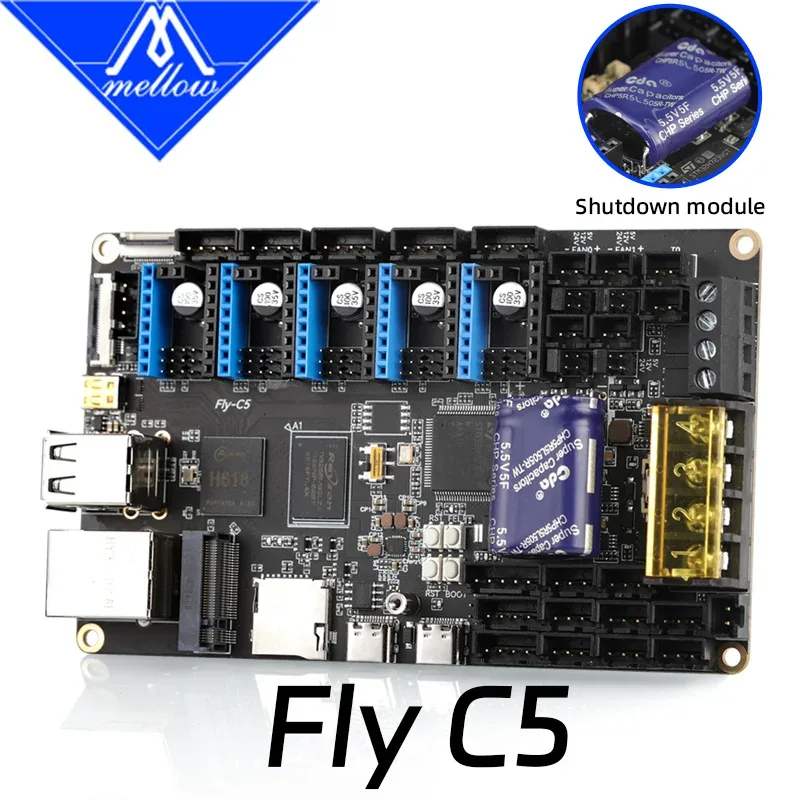
What makes the C5 especially interesting is that it combines the Linux host and the printer’s motion controller on one board. The host side uses a quad-core Allwinner H618 processor with 1 GB of DDR4 memory, while an STM32H723 handles real-time printer control. In practical terms, we should be able to run Klipper without adding a separate Raspberry Pi.
Mellow’s system image includes Klipper, Moonraker, Mainsail, Fluidd, KlipperScreen, Crowsnest, and the software needed for resonance compensation. The standard board does not include built-in storage, so it needs either Mellow’s compatible M2WE module or a microSD card between 16 and 128 GB.
The FLY SHT36 V3 changes that arrangement by putting a compact control board directly on the toolhead.

The SHT36 V3 is designed for toolheads using a 36 mm extruder stepper motor. It has its own RP2040 microcontroller, a TMC2209 extruder driver, two controllable fan outputs, heater and temperature-sensor connections, an LIS2DW accelerometer, and support for CAN or RS232 communication.
Most of the toolhead components connect to the SHT36 instead of running all the way back to the C5. Mellow describes this arrangement as replacing the usual toolhead harness with four wires for power and communication.
The hotend for Project Trinity is the Mellow HeatCore 4 UHF Lite ALPS.
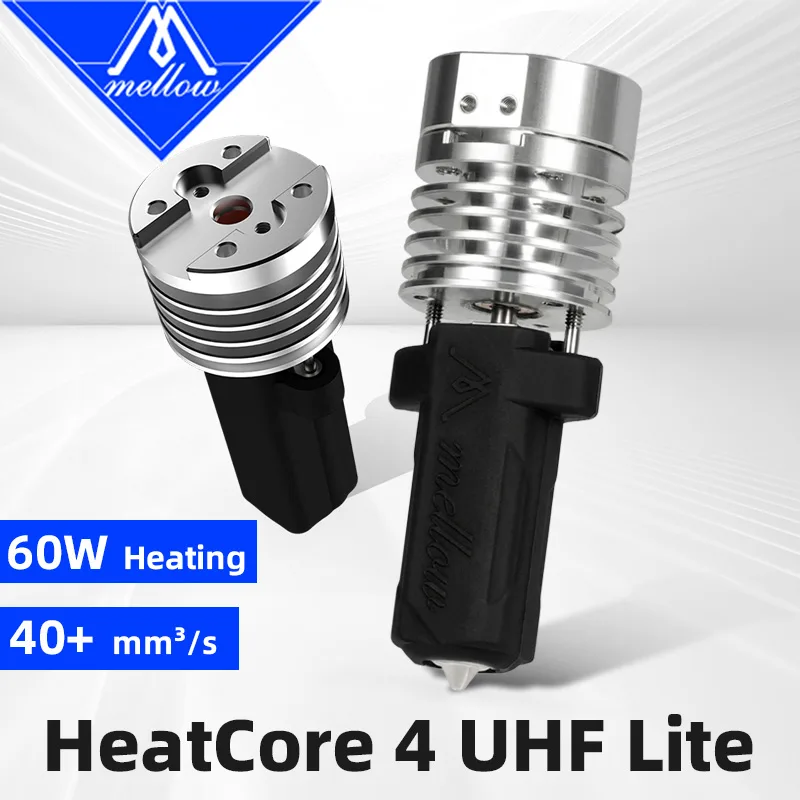
The UHF name stands for ultra high flow. Mellow rates the hotend for more than 40 mm³/s of flow and pairs it with a 60-watt, 4 mm heater, a PT1000 temperature sensor, and a titanium heat break. It also uses standard V6-style nozzles, which gives us plenty of options for nozzle sizes and materials.
High flow matters because faster motion does not automatically make a printer faster. The hotend still has to melt plastic quickly and consistently enough to keep up. The HeatCore 4 is intended to provide that extra thermal capacity without adding a large amount of weight to the toolhead.
The other part of the package is ALPS, Mellow’s pressure-based nozzle-probing system. Instead of mounting a separate probe next to the nozzle, ALPS detects contact through the nozzle itself. The same point that measures the bed is also the point that lays down the first layer.
That means there is no separate X and Y probe offset to manage, and the toolhead can be built without an external probe hanging beside the hotend. It is a promising idea, but we still need to see how it behaves on a real printer. Installation, calibration, nozzle cleanliness, triggering, and first-layer consistency will all be tested later in the series.
How the System Fits Together
The C5 will run Klipper and control the printer as a whole. The SHT36 V3 will act as the local control center on the moving toolhead. The HeatCore 4 will melt the filament, while the ALPS system will use the nozzle as the bed-contact point.
That combination makes sense for an Enderwire conversion because it addresses three areas where a major rebuild can become unnecessarily complicated: adding a separate Klipper computer, managing a large moving wire bundle, and fitting separate heating and probing hardware into the toolhead.
Before we remove the first screw from a working printer, we need to understand the system we are building toward. Once the teardown begins, the original Max Neo will not simply snap back together between filming sessions.
What Is Coming in the Series
Part 1 is the introduction to the conversion and the electronics. In Part 2, we will tear down the Ender 3 Max Neo and begin the mechanical conversion. Part 3 will cover the toolhead, electronics installation, and wiring. Part 4 will focus on Klipper configuration, first motion, calibration, the first print, and the final verdict.
Project Trinity starts with a capable but conventional Ender 3 Max Neo. The target is a much more focused machine: a 300 mm Enderwire-style printer with integrated Klipper control, a compact toolboard harness, high-flow extrusion, and nozzle-based probing.
The parts are here and the plan is taking shape. Next comes the moment every ambitious printer conversion eventually reaches: the point where a working machine gets taken apart in the hope that something much better will emerge.
In Part 2, the teardown begins.
Would you take an Ender 3 Max Neo this far, or would you leave it stock and start with a different printer? Let me know in the comments.